- Login to your Twilio console.
- Go To Phone Numbers
- Manage
- Buy a number
- Choose the phone number to acquire

- Open the advanced Search and select only Toll-free and then filter you should get the phone numbers available (you can edit the search based on your requirements)
(toll-free: Telephone numbers with distinct three-digit codes that can be dialed from landlines with no charge to the person placing the call. Such numbers allow callers to reach businesses and/or individuals out of the area without being charged a long-distance fee for the call)

- Note that for WhatsApp usage only, SMS and Voice are the only needed capabilities and you won't be able to add more capabilities in the future.
After buying the phone number, we have to sign up for WhatsApp service
- log into the Twilio Console.
- Click here or navigate to Messaging > Senders > WhatsApp senders. This will take you to the WhatsApp Enabled Senders section of the console where you will create your WhatsApp sender.
- Review the information on this page and click "Get Started".
- View WhatsApp's Terms of Service and check the box if you agree to them. Then click Confirm.
- Next, select the phone number you wish to connect to WhatsApp’s Business API. You may use your Twilio Number or your own phone number.

- There is a one-to-one association between your WhatsApp Business account and your Twilio account. Therefore, you’ll link your WhatsApp Business account with the Twilio phone number that you chose in the previous step.

- Log into Facebook if you haven't already or click Continue as [your name] if you’re already signed in. After logging in, you will be shown an overview of the process to connect your number to WhatsApp.


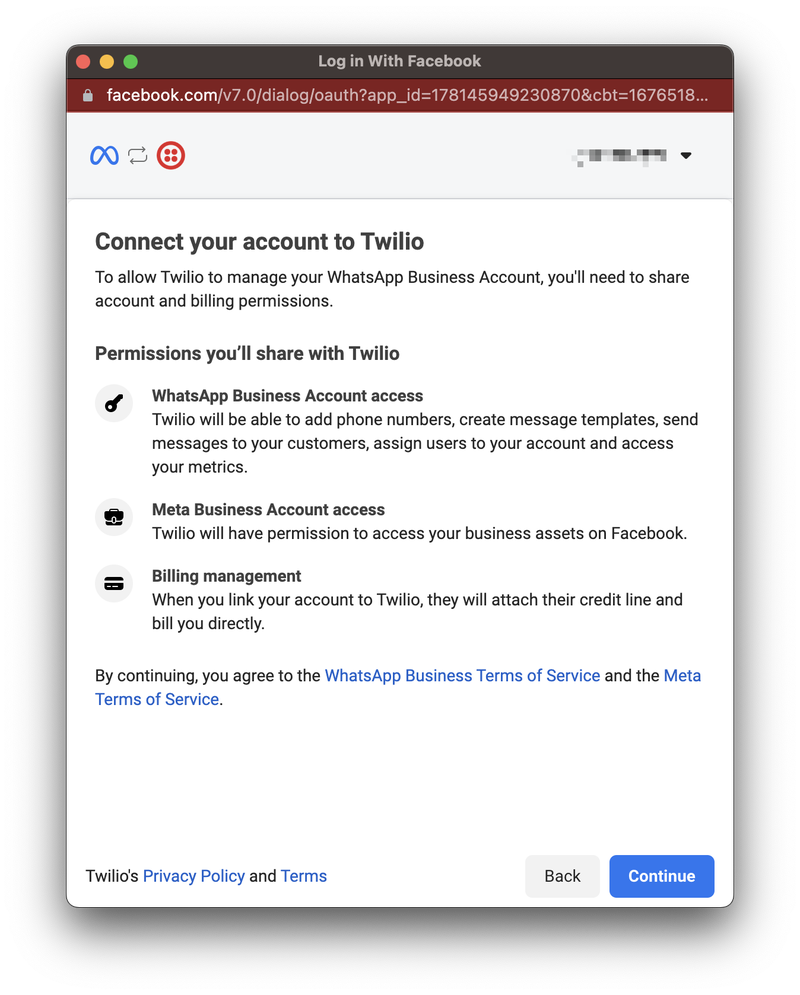
- Facebook will then ask you to allow Twilio to manage your WhatsApp Business Account. Click Continue to proceed.
- On the next screen, select your the Meta Business Account for your business from the list. If you don't have one, you may create a new one by selecting the option Create a Business Account.

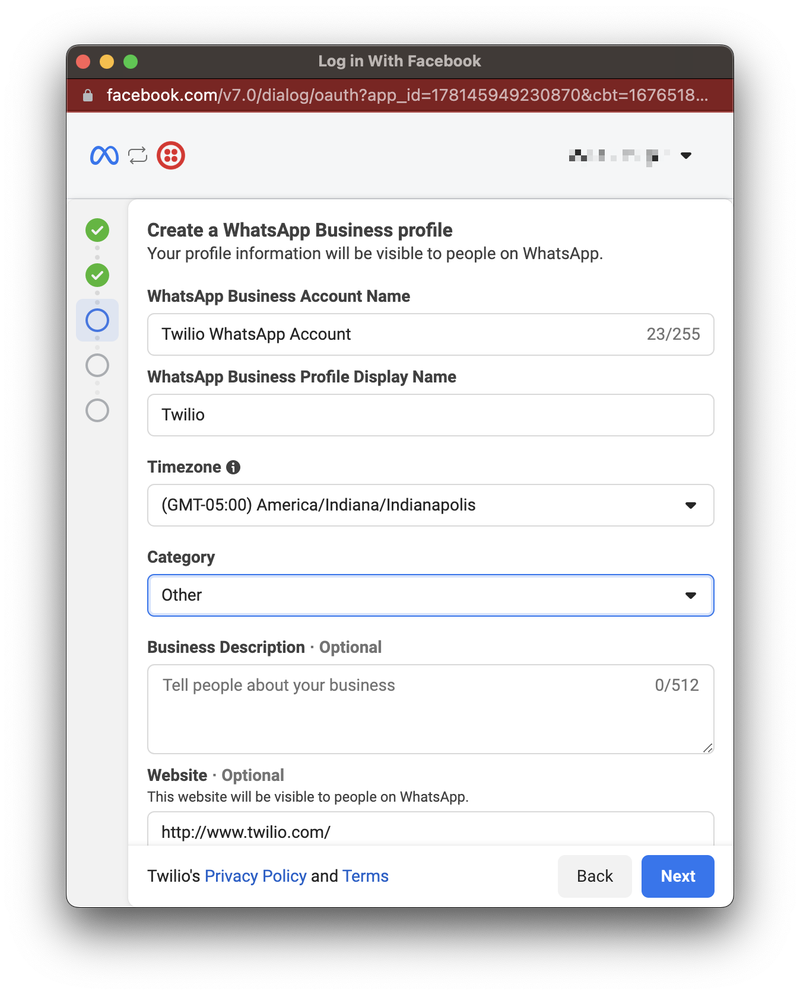
- Next, you will be able to create a WhatsApp Business Account (WABA).

- You will need to enter in the following information:
- WhatsApp Business Account Name - This is only used for internal purposes and is not consumer facing
- WhatsApp Business Profile Display Name - This is what your customers will see It must meet the requirements set by WhatsApp
- Category - Select the category that best describes your business. This is shown to consumers when they view your profile.
- Business Description - This is also shown to consumers when viewing your profile in the WhatsApp application.
- Website - This is also shown to consumers when viewing your profile in the WhatsApp application. Once you register your WhatsApp Sender, you will have the ability to add an additional website if you wish
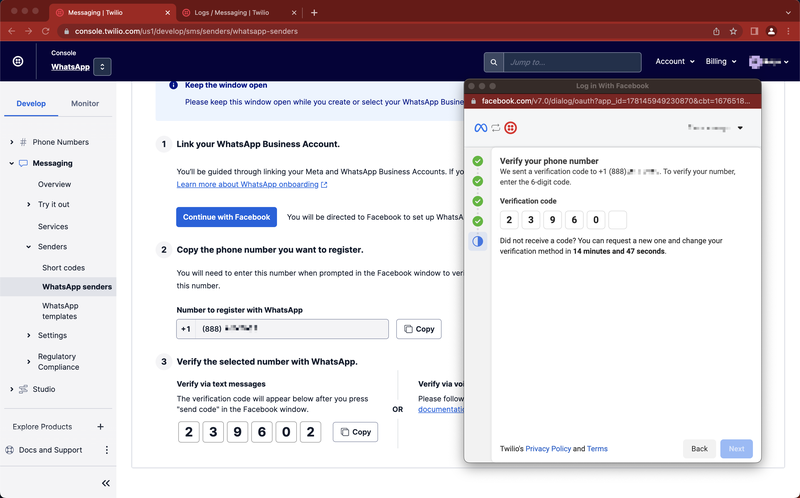
- Copy/Paste the phone number you've activated in Twilio
- Finally Verify your WhatsApp Business Number
Related Pages
-
Page:
-
Page:
-
Page:
-
Page:
-
Page:
-
Page:
-
Page:
{"serverDuration": 69, "requestCorrelationId": "8105c10c007bebc7"}