Feature Overview
In this guide, we'll walk you through the process of showing or hiding the success page when you create an issue.
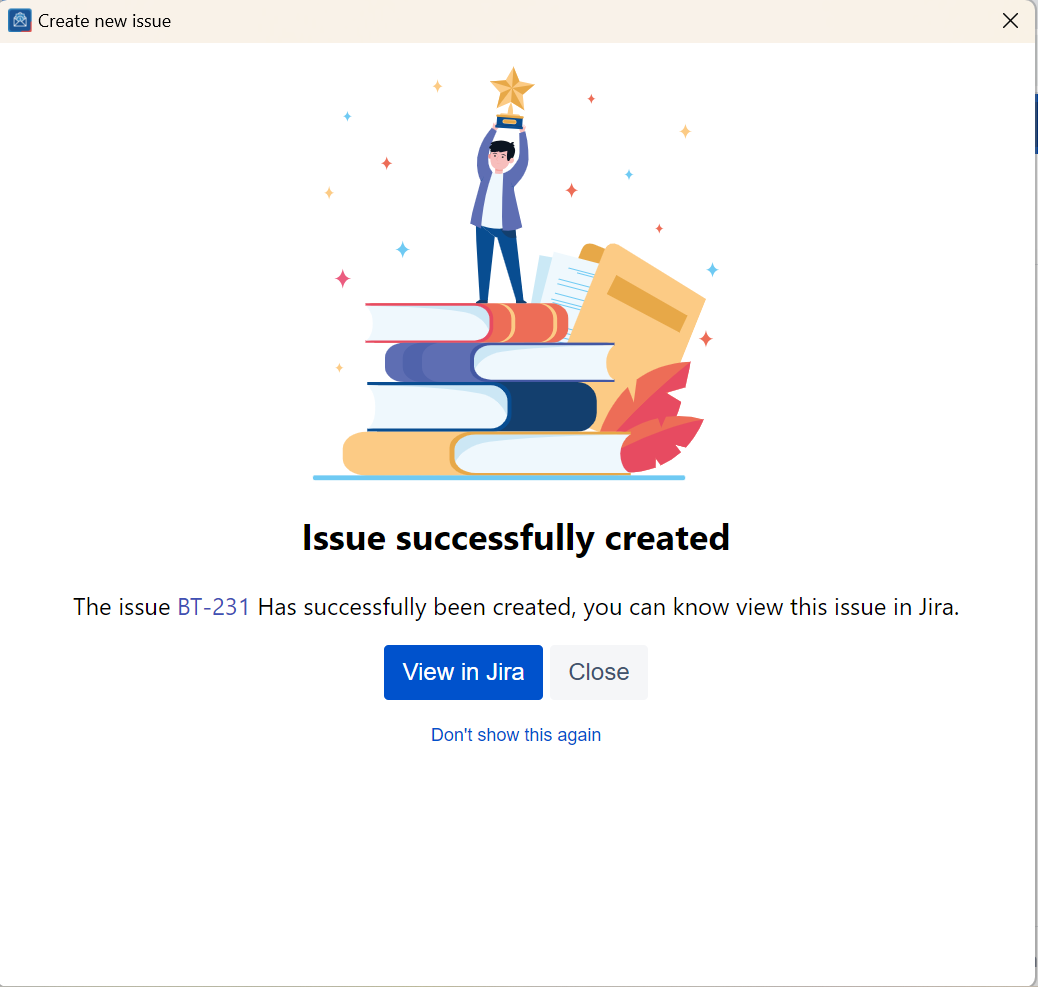
By default, the success page remains hidden, and instead, a pop-up window emerges when an issue is successfully generated. This pop-up conveniently includes a clickable issue number, allowing you to effortlessly access the issue in your web browser.
Follow these steps
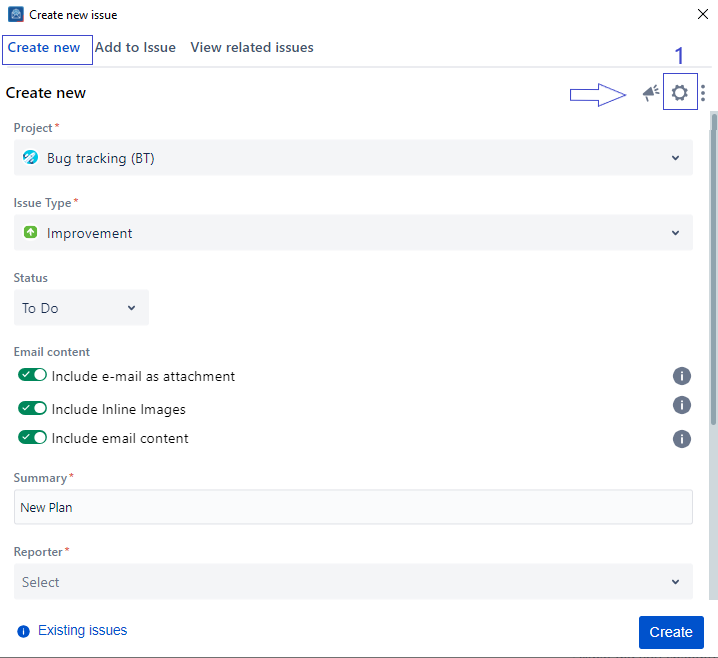
1. Click on the Settings icon in the top right corner
2. Select the Screen tab from the Settings screen
3. Check/Uncheck the option Show success page
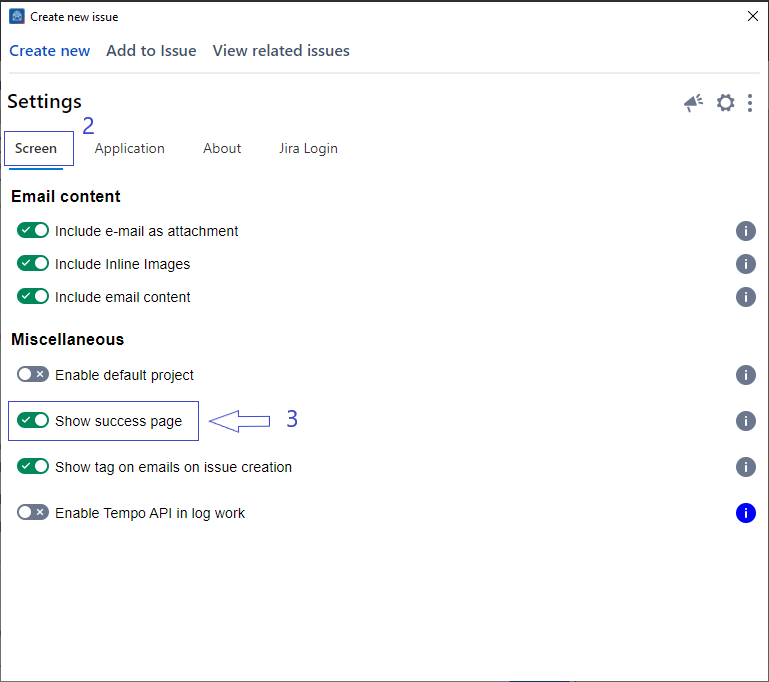
4. Changes will be saved automatically
These settings are stored for your account and automatically applied whenever you open the app.
Related Content
-
How to Connect to Microsoft Graph for better Attachments and Inline Images rendering in Jira (Microsoft Outlook for Jira)
-
How to Add Email Automation Rules to Set Default Project and Issue Type (Microsoft Outlook for Jira)
-
How to Configure Which Information from the Email to Include (Microsoft Outlook for Jira)
-
How to Create New Jira Issues from 'Microsoft Outlook for Jira' (Microsoft Outlook for Jira)
-
How to Log Work from the Create Screen (Microsoft Outlook for Jira)
-
How to Create a New Fix Version (Microsoft Outlook for Jira)
-
How to Show/Hide Fields (Microsoft Outlook for Jira)
-
How to Create a New Component (Microsoft Outlook for Jira)
-
How to Show/Hide the Success Page on Issue Creation (Microsoft Outlook for Jira)
-
How to Link Issues from the Create Screen (Microsoft Outlook for Jira)
-
How to Create a Subtask (Microsoft Outlook for Jira)